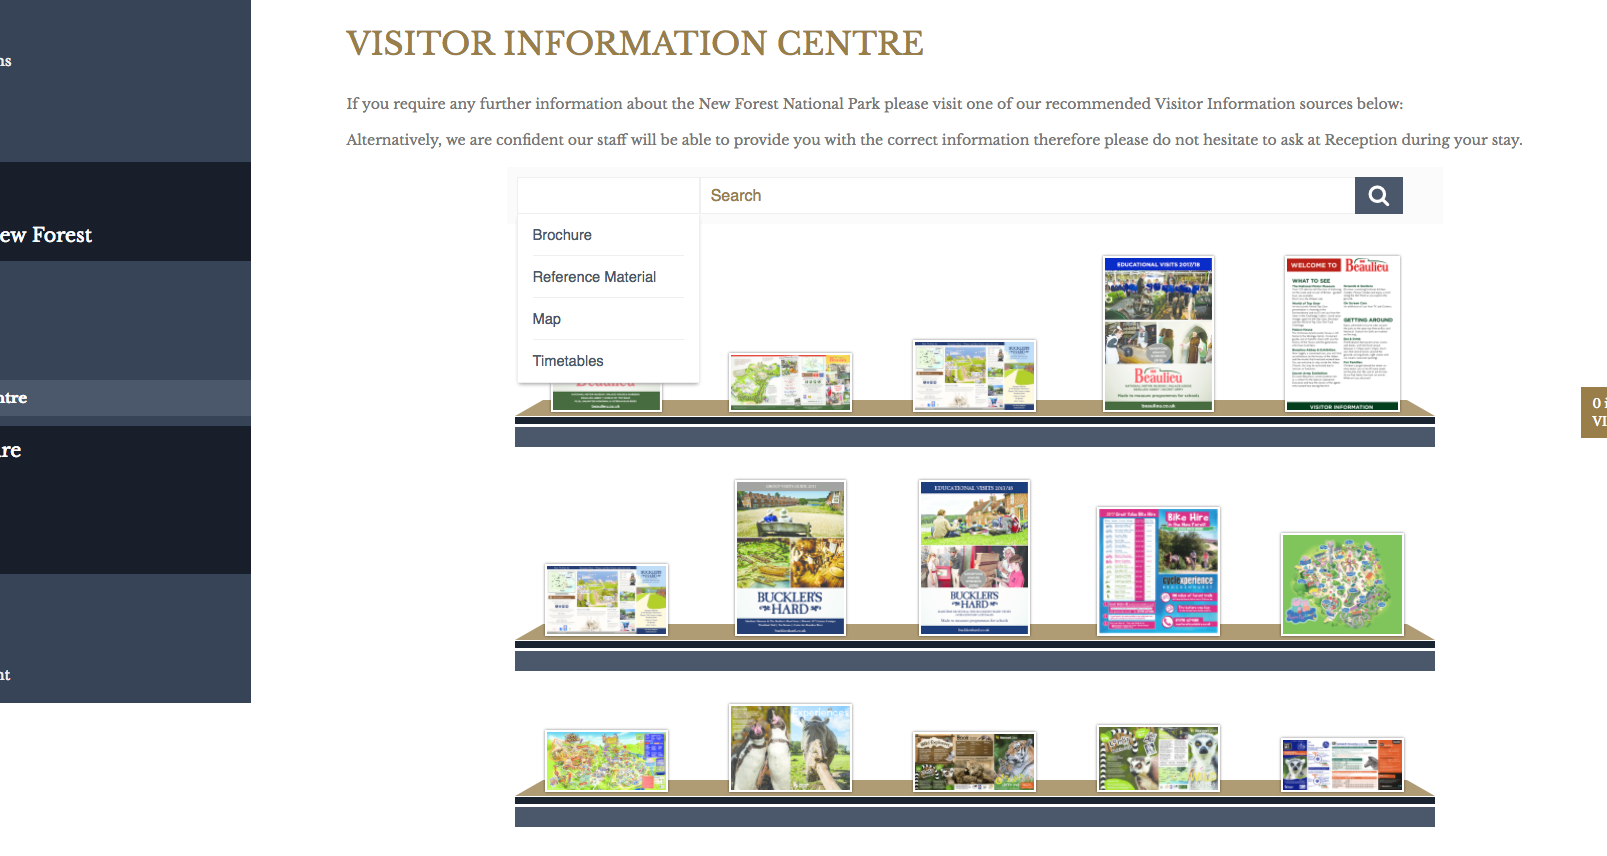
Our Brochure Racks and Visitor Information Centre Widgets are filled with content uploaded from our customers. Adding a brochure to your Widgety page means that not only can you display it in an easy way, but others who are interested can take it too. This provides distribution in new areas, it can be displayed on your website or Facebook page, and it saves having leaflets or brochures on display, which can be messy and expensive in print costs.
In September 2017 we launched a new ‘File Type’ filter, this is so that when your attachment is viewed on a Brochure Rack Widget, a user can filter down to see what they want, rather than having to browse everything. Every file is now assigned a type when it is uploaded.
You can upload any document or resource that is relevant to your business. However;
The document should preferably be in .pdf format
It must be under 50MB
It must be named appropriately (see step 7 below)
At the time of writing (30/9/17), all resources must be something that you are happy for other people to have access to. Currently in development are special permissions and tags so that in the future you can choose who has access to it and who doesn’t.
To upload a brochure;
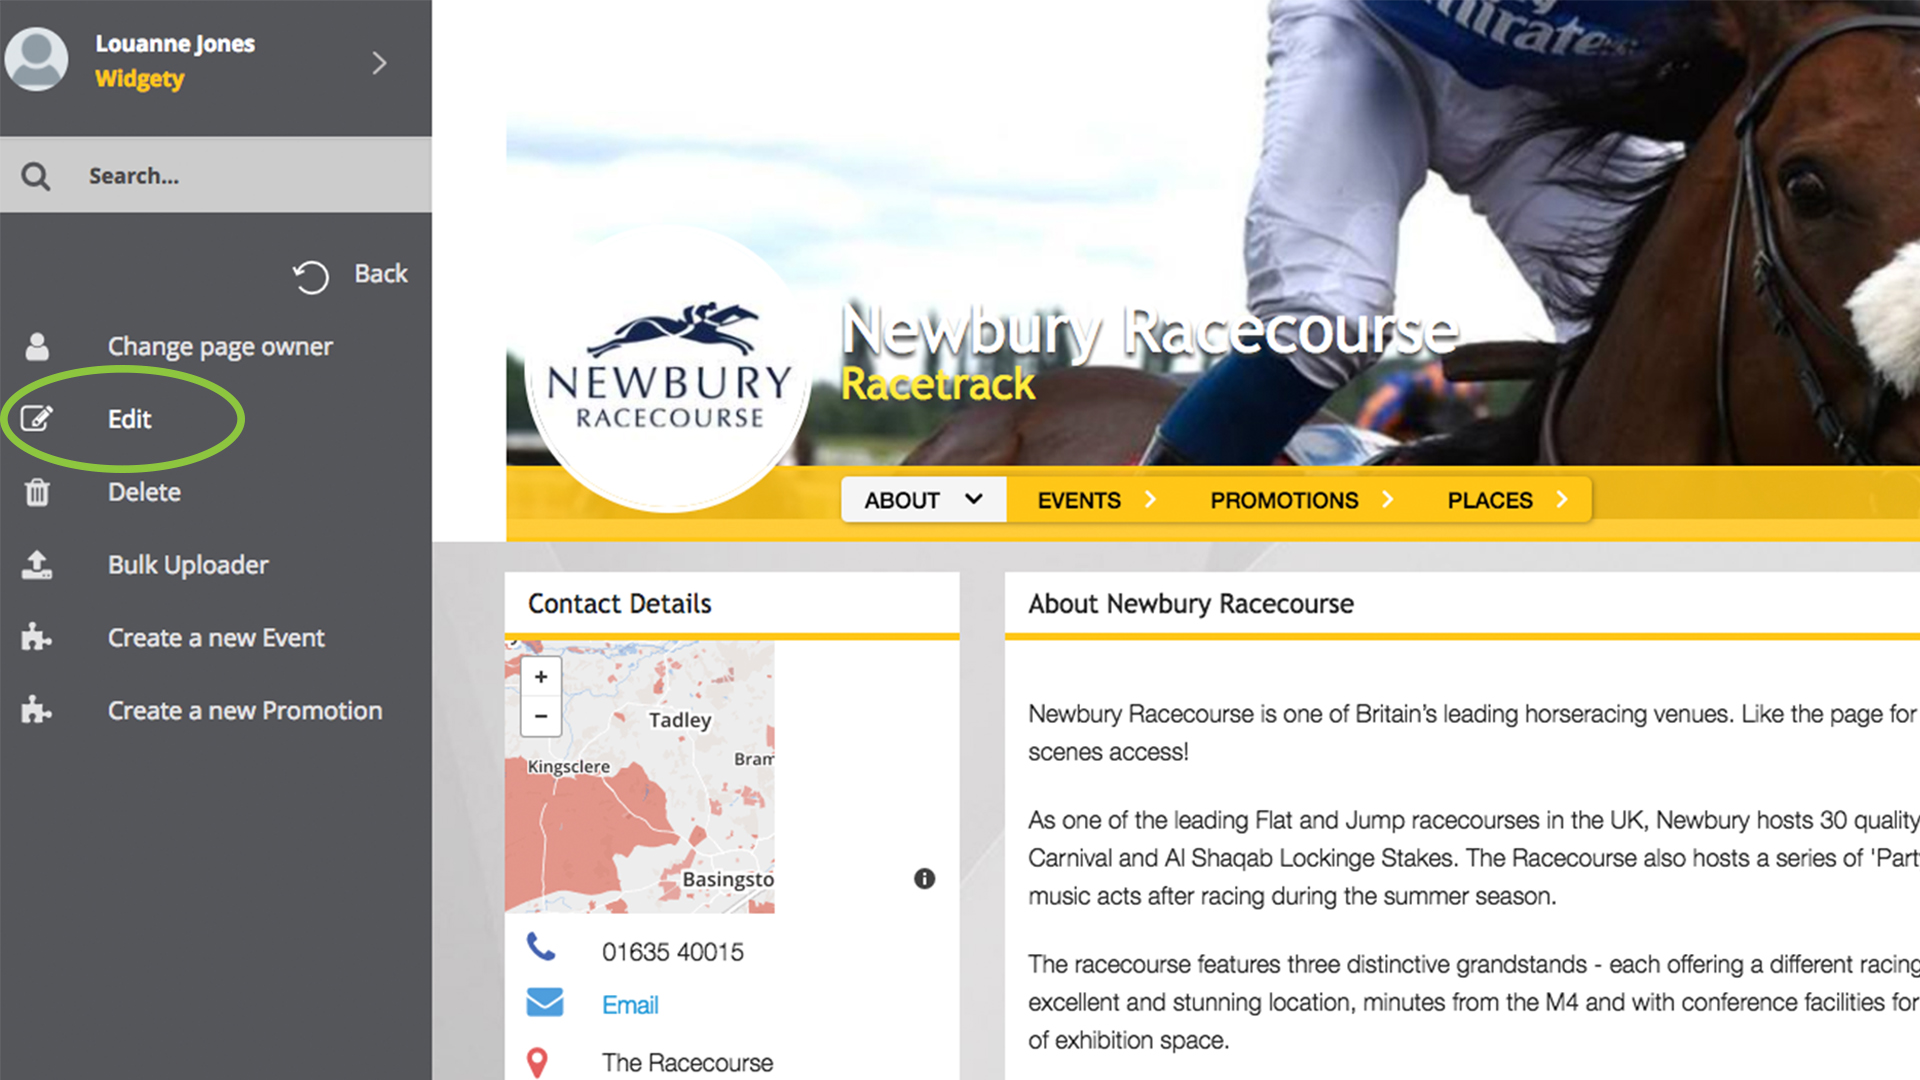
Go to your Place or Operator page (depending on your business type).
In the navigation bar on the left hand side, click ‘Edit’.
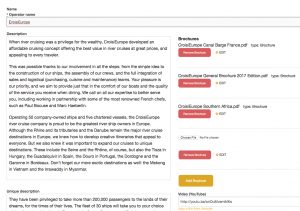
This should bring up all the content for your Place or Operator. For operators, the attachment section will be on the right hand side, for places it will be at the bottom of the page.
For operators, the attachment section will be on the right hand side.
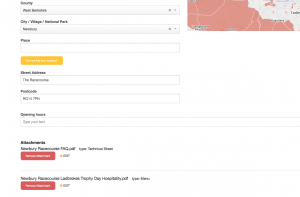
For places, the attachment section is at the bottom, underneath the address.
Click the yellow button that says ‘Add Attachment’, and then the grey one that appears ‘Choose File’.
This will bring up your files, select the one you want.
Scroll to the bottom of the page to find the yellow button that says ‘Update Place/Operator’. When you click, it will bring up the attachment control panel.
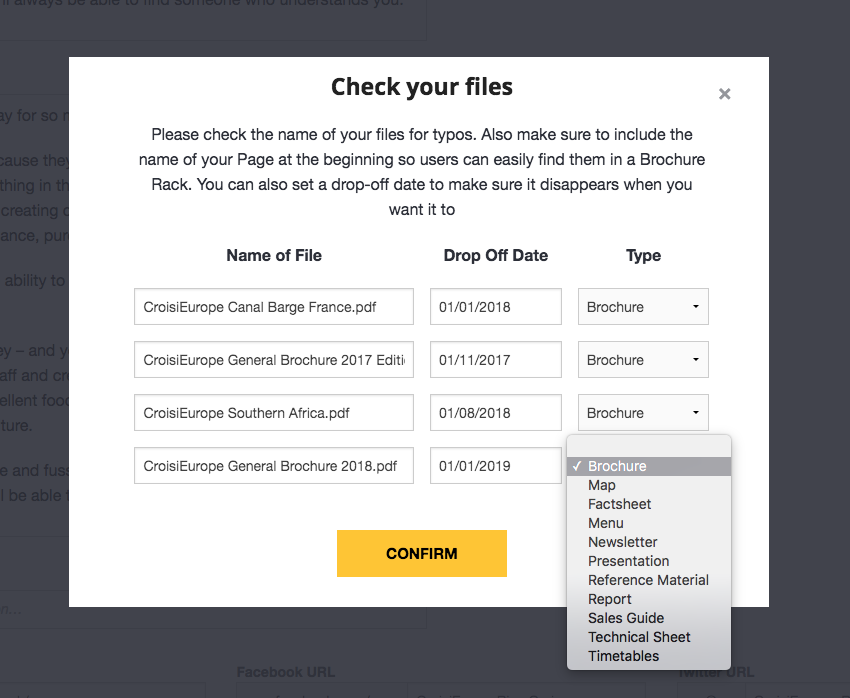
In the control panel you can change the name of the file, add a drop-off date and a file type. The file name should follow the following format ‘Place/Operator Name Brochure Name’ to allow people to search for and find your file.
The drop-off date is the date that the brochure will no longer appear on the system, meaning that you won’t have to go back into your account to remove it.
Every file has to be assigned a type. Next to the drop-off date is the file type field. Click in the box and select the option that is most applicable to your attachment to assign it.
Hit ‘Confirm’. Make sure you only click this button once to avoid multiple uploads.
If your file is in the right format and under 50MB it should upload. Your files will now appear on the left hand side (operators) or at the bottom (places) of the page.
We use cookies on our website to give you the most relevant experience by remembering your preferences and repeat visits. By clicking “Accept All”, you consent to the use of these cookies.
This website uses cookies to improve your experience while you navigate through the website. Out of these, the cookies that are categorized as necessary are stored on your browser as they are essential for the working of basic functionalities of the website. We also use third-party cookies that help us analyze and understand how you use this website. These cookies will be stored in your browser only with your consent. You also have the option to opt-out of these cookies. But opting out of some of these cookies may affect your browsing experience.
Necessary cookies are absolutely essential for the website to function properly. These cookies ensure basic functionalities and security features of the website, anonymously.
Cookie
Duration
Description
cookielawinfo-checkbox-analytics
11 months
This cookie is set by GDPR Cookie Consent plugin. The cookie is used to store the user consent for the cookies in the category "Analytics".
cookielawinfo-checkbox-functional
11 months
The cookie is set by GDPR cookie consent to record the user consent for the cookies in the category "Functional".
cookielawinfo-checkbox-necessary
11 months
This cookie is set by GDPR Cookie Consent plugin. The cookies is used to store the user consent for the cookies in the category "Necessary".
cookielawinfo-checkbox-others
11 months
This cookie is set by GDPR Cookie Consent plugin. The cookie is used to store the user consent for the cookies in the category "Other.
cookielawinfo-checkbox-performance
11 months
This cookie is set by GDPR Cookie Consent plugin. The cookie is used to store the user consent for the cookies in the category "Performance".
viewed_cookie_policy
11 months
The cookie is set by the GDPR Cookie Consent plugin and is used to store whether or not user has consented to the use of cookies. It does not store any personal data.
Functional cookies help to perform certain functionalities like sharing the content of the website on social media platforms, collect feedbacks, and other third-party features.
Performance cookies are used to understand and analyze the key performance indexes of the website which helps in delivering a better user experience for the visitors.
Analytical cookies are used to understand how visitors interact with the website. These cookies help provide information on metrics the number of visitors, bounce rate, traffic source, etc.
Advertisement cookies are used to provide visitors with relevant ads and marketing campaigns. These cookies track visitors across websites and collect information to provide customized ads.